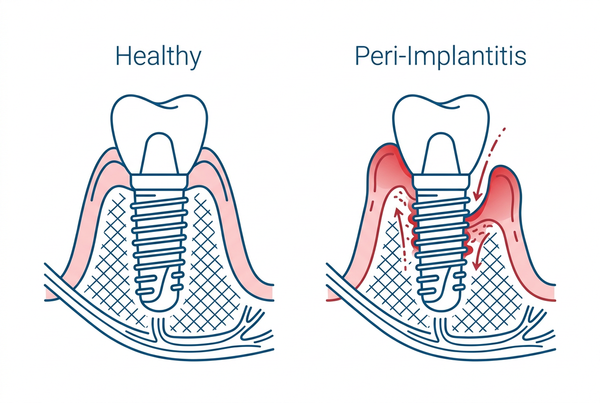
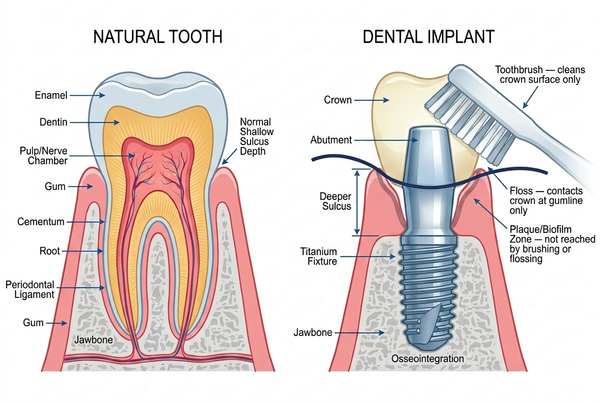
A water flosser (oral irrigator) is a popular tool for implant care because it can direct a targeted stream of liquid into the small space around the implant abutment - an area that's genuinely hard to reach with a brush or standard floss. Here's a general step-by-step approach.
1. Choose your solution
Plain water works, but many dentists suggest using an antiplaque rinse or irrigation solution in the reservoir for added benefit. If you're using a concentrate like Implant ProCare, mix it 1:1 with lukewarm water directly in the reservoir - each 16 oz bottle makes a full 32 oz of ready-to-use solution.
2. Start on a low pressure setting
If your water flosser has adjustable pressure, start low, especially around implants and any area with sensitive or healing tissue. You can increase pressure gradually as you get comfortable, but around implants, low-to-medium is generally plenty to clear debris without irritating the tissue.
3. Trace the gumline, pausing at each implant
Aim the tip at a slight angle toward the gumline (not straight down into the gum) and move slowly along the sulcus - the small groove where the gum meets the implant or crown. Pause briefly at each implant site rather than rushing past it. Let the water do the work of flushing out plaque and debris rather than trying to "scrub" with the stream.
4. Don't skip the back and the in-between spaces
The areas between an implant and neighboring teeth, and around the back molars, are easy to miss and are common spots for plaque to build up unnoticed. Take an extra few seconds at each of these spots.
5. Spit, don't swallow
As with any oral rinse, let the solution drain into the sink rather than swallowing it.
6. Make it a daily habit
Consistency matters more than intensity. Most dentists recommend water flossing once or twice daily - for example, once in the morning and once before bed - rather than doing it intensively once a week.
7. Clean your water flosser reservoir
Rinse the reservoir after each use and let it air dry to prevent buildup inside the device itself.
No water flosser yet?
You can still get some benefit by swishing a diluted rinse for about 30 seconds, or using a curved-tip irrigating syringe to direct solution around the implant site - though most dentists agree a water flosser gives more consistent, targeted results.
This guide is general information, not personalized dental advice. Ask your dentist to walk you through technique specific to your implant placement and any restorations you have.
Want more detail on a specific product? See our product page or FAQ.